
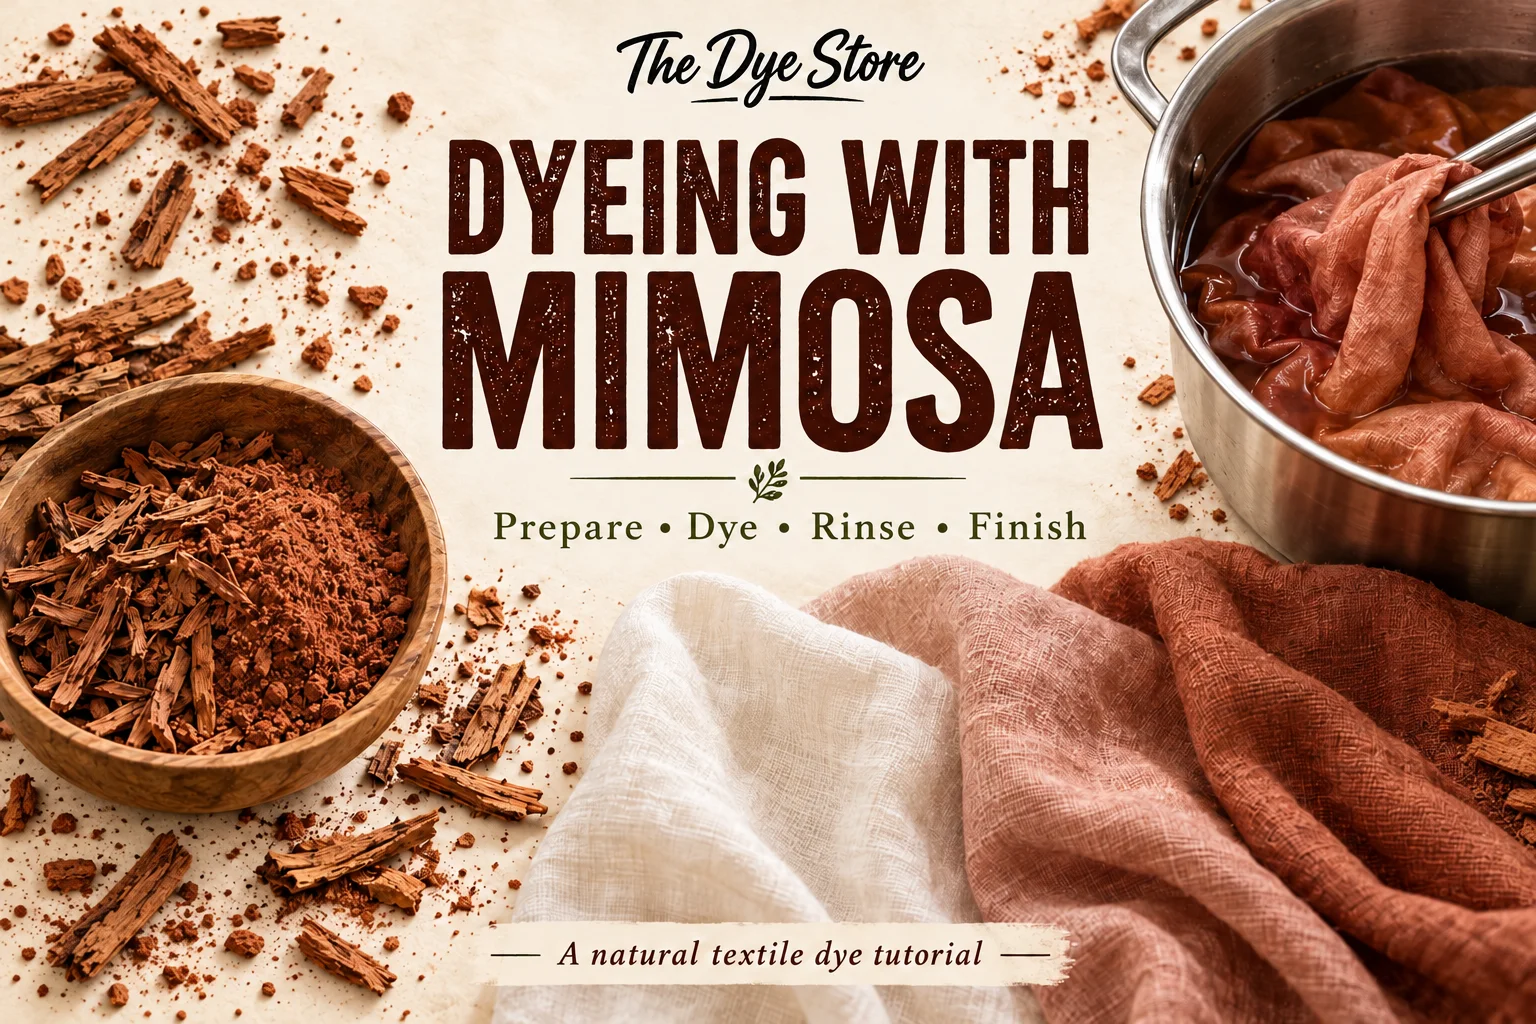
Turn clean cloth into botanical color. This start-to-finish guide takes you through preparing cotton or linen, building a water-based Mimosa dye bath, rinsing away loose color and caring for your finished textile.
Start with a sample. Mimosa hostilis (also called Mimosa tenuiflora) root bark varies between batches. Earthy red, rose-brown and reddish-brown results are possible, but no single shade is guaranteed. This is a practical small-batch starting protocol, not a laboratory-validated recipe for our current stock. Judge a washed, dry swatch before dyeing a whole garment.
Before you begin: choose your textile and gather supplies
Use plain, light-colored 100% cotton or linen that tolerates hot washing. Start with loose fabric rather than a valuable garment. Polyester thread, prints, stain-resistant coatings and mixed fibers may stay lighter or resist the dye. Wool and silk need different preparation and gentler handling; do not use this cotton scouring recipe on them.
- Mimosa root bark powder; dry fabric and a matching test swatch.
- A gram scale, thermometer, timer and a notebook.
- A roomy stainless steel or intact enamel dye pot, dedicated spoon or tongs, heat source and heat-safe straining equipment.
- Fine tightly woven filtering cloth, sieve, buckets and clean rinse water.
- Textile detergent, soda ash for scouring, and textile-grade aluminum acetate plus calcium carbonate for the mordant route below.
- Gloves, eye protection, apron and suitable particulate protection when handling powders. Follow each product’s label and safety data sheet.
Work in a ventilated space, minimize airborne dust and keep children and pets away from baths. Use tools reserved for dyeing, never cooking. Add powders slowly to water. Let hot baths cool before lifting or filtering; gloves for chemicals are not necessarily heat protection. Dyes and chemical products are not for human or animal consumption.
Measure by dry weight—not shirt size
WOF means weight of fiber. Weigh the fabric dry before washing. Ingredient grams = dry fabric grams × percentage ÷ 100. Record water volume separately. A large garment needs space to unfold, even when its dry weight is low.
| Starting quantity | 10 g test swatch | 200 g fabric example |
|---|---|---|
| Scouring detergent, 1% WOF | 0.1 g | 2 g |
| Scouring soda ash, 2% WOF | 0.2 g | 4 g |
| Aluminum acetate, 10% WOF* | 1 g | 20 g |
| Mimosa powder, exploratory 50% WOF | 5 g | 100 g |
| Calcium carbonate fixing bath | 10 g per liter of fixing water, measured separately | |
*The aluminum acetate amount follows the supplier method linked below. If your product specifies another concentration, follow its complete method. Potassium aluminum sulfate (“alum”) is a different chemical: do not substitute gram-for-gram. The 50% Mimosa ratio is an exploratory starting point; it does not promise a particular color. Use a scale accurate enough for the sample or prepare a larger measured preparation batch rather than guessing tiny quantities.
1. Prewash and scour your cotton or linen
Prewash without fabric softener. For the scouring bath, use the detergent and soda ash amounts above in enough water for free movement. Dissolve and mix before adding the textile. Heat at a gentle simmer for about an hour, moving the fabric occasionally. Respect the textile’s heat limits. Let the bath cool to safe handling temperature, then rinse thoroughly. Finished garments with elastane, trims or delicate construction may need a different process.
Check absorbency: a drop of water should soak into the cooled fabric rather than sit on top. Persistent beading suggests a remaining finish; test another scour on a scrap. Fabric sold as prepared for dyeing may need only washing—check the supplier’s directions. Keep it evenly wet for the next stage.
2. Mordant the textile using one complete method
A mordant helps suitable natural colorants attach to the fiber. For this cotton/linen starting route, use the aluminum acetate direct method: prepare a bath at approximately 54°C (130°F), mix in 10% WOF textile-grade aluminum acetate and immerse the scoured wet fabric for two hours. Turn it a few times and remove trapped air.
Prepare a separate calcium carbonate bath at 43–49°C (110–120°F), using 10 g per liter. Disperse the chalk; it will look milky rather than dissolve clear. Gently squeeze excess mordant liquid back into its bath, then immerse the fabric in the chalk bath for one hour. Rinse out the chalk thoroughly before dyeing. Follow your supplier’s directions if they differ. Never mix the whole mordant bath into the dye pot.
Using regular alum instead? Use a supplier’s complete cellulose-fiber tannin/alum process, rather than this aluminum acetate route. The salts and finishing steps differ. Do not use a wool mordant recipe unchanged on cotton.
3. Make and filter the Mimosa dye bath
For your first 10 g swatch, try 5 g powder and about 300 mL water as a recorded trial. For 200 g fabric, start with 100 g powder and about 6 liters of bath water, using a larger pot or more water if needed for movement. These water amounts are planning examples, not rigid rules.
- Put water in the dedicated pot and slowly wet in the weighed bark powder. Break up dry clumps with a spoon.
- Gently simmer for 30–60 minutes. Keep the pot from boiling dry; record any water you add.
- Turn off the heat and cool until safe to handle. Filter into a heat-safe receiving container through the fine cloth supported by a sieve. Keep solids out of the textile bath.
- If fine sediment remains, filter again. Restore the intended bath volume and note it. Do not squeeze a hot filter bag by hand.
This starting trial uses water without a vinegar or alkaline color modifier. Keep water chemistry consistent between swatch and full project. Salt or vinegar is not a universal substitute for mordanting.
4. Dye your sample, then scale up
Immerse the prepared, evenly wet textile in a warm bath, unfold it and gradually heat to an exploratory 80–90°C (176–194°F). Keep it below a vigorous boil and within the fabric’s heat tolerance. Hold for 60 minutes, gently repositioning about every 5–10 minutes. Maintain submersion, room to move and a stable water level. The temperature and duration are starting trial settings, not a proven optimum for every Mimosa batch.
Turn off the heat and cool in the bath. Remove a sample for rinsing and washing. Wet fabric appears darker: compare it only after it is dry. If satisfactory, use the same powder-to-fiber ratio, preparation, water source, bath concentration and timing for the larger textile. A second dip can deepen some results; compare another sample before committing.
5. Rinse, wash and finish
- Lift the cooled textile and let excess liquid drain into the pot. Rinse in several changes of clean water until runoff is nearly clear.
- Wash gently with a small amount of pH-neutral detergent appropriate for the fabric. Rinse out soap and loose color. Water becoming lightly tinted initially is different from sustained heavy bleeding.
- Press out water without harsh wringing. Reshape and air-dry in shade.
- Once dry, rub gently with clean white cloth, first dry and then slightly damp. Visible transfer means more washing/rinsing is needed; do not use the textile against pale furnishings yet.
- For clothing, perform a separate gentle wash before wearing. Press at the fabric’s care-label temperature if needed.
Wash finished pieces separately at first in cool water with gentle pH-neutral detergent. Avoid bleach and prolonged sunlight; store dry and out of direct light. Natural color can change with washing and use. A mordant improves some dye systems but does not guarantee commercial washfastness or lightfastness.
Troubleshooting your first project
| What you see | What to check next |
|---|---|
| Patchy color | Fabric finishes, trapped air, folds, crowding or uneven wetting. Improve preparation and movement before increasing dye. |
| Powder specks or dusty fabric | Filter finer; keep bark solids out of the dye bath. |
| Color washes away | Check fiber content, scouring and the complete mordant method. Distinguish surface staining from retained color on a washed dry sample. |
| Shade looks browner than expected | Compare water, bark batch and preparation. Do not add random chemicals to chase a photograph. |
| Weak color after proper preparation | Try a second measured bath or a higher powder ratio on a new sample, changing one variable at a time. |
Make your next batch easier to repeat
Attach a washed, dry swatch to your notes. Record fiber composition and weight, powder batch, ingredient grams, liters of water, preparation method, heat, timing and after-wash appearance. Photograph in consistent daylight. This turns an attractive experiment into a process you can refine.
Let cooled baths be handled according to product labels and local wastewater guidance. Keep metal-containing mordant waste separate; do not discharge it into storm drains, waterways or the garden. Strain and contain bark solids.
Continue learning
Learning Center · Dyeing PPE guide · Hot bath vs. cold dyeing · Mimosa textile dye powder
References and method notes
This tutorial combines established textile preparation methods with an explicitly exploratory Mimosa water-bath trial. It has not been presented as a test report for The Dye Store’s current dye batch. Illustrations show the craft process, not guaranteed color swatches.
- Farm & Folk: scouring cellulose fabrics — preparation recipe.
- Shepherd Textiles: aluminum acetate mordanting — direct mordant and chalk-fixing method.
- Maiwa: Guide to Natural Dyes — fiber-specific processes and general natural-dye practice.
- Erkan, Şengül & Kaya: Mimosa tenuiflora extract on cotton — research on color and fastness; its experimental metal treatments are not this home recipe.
- Maiwa: textile care — gentle washing of naturally dyed textiles.